Toronto Maple Leafs Mascot Repositional Set
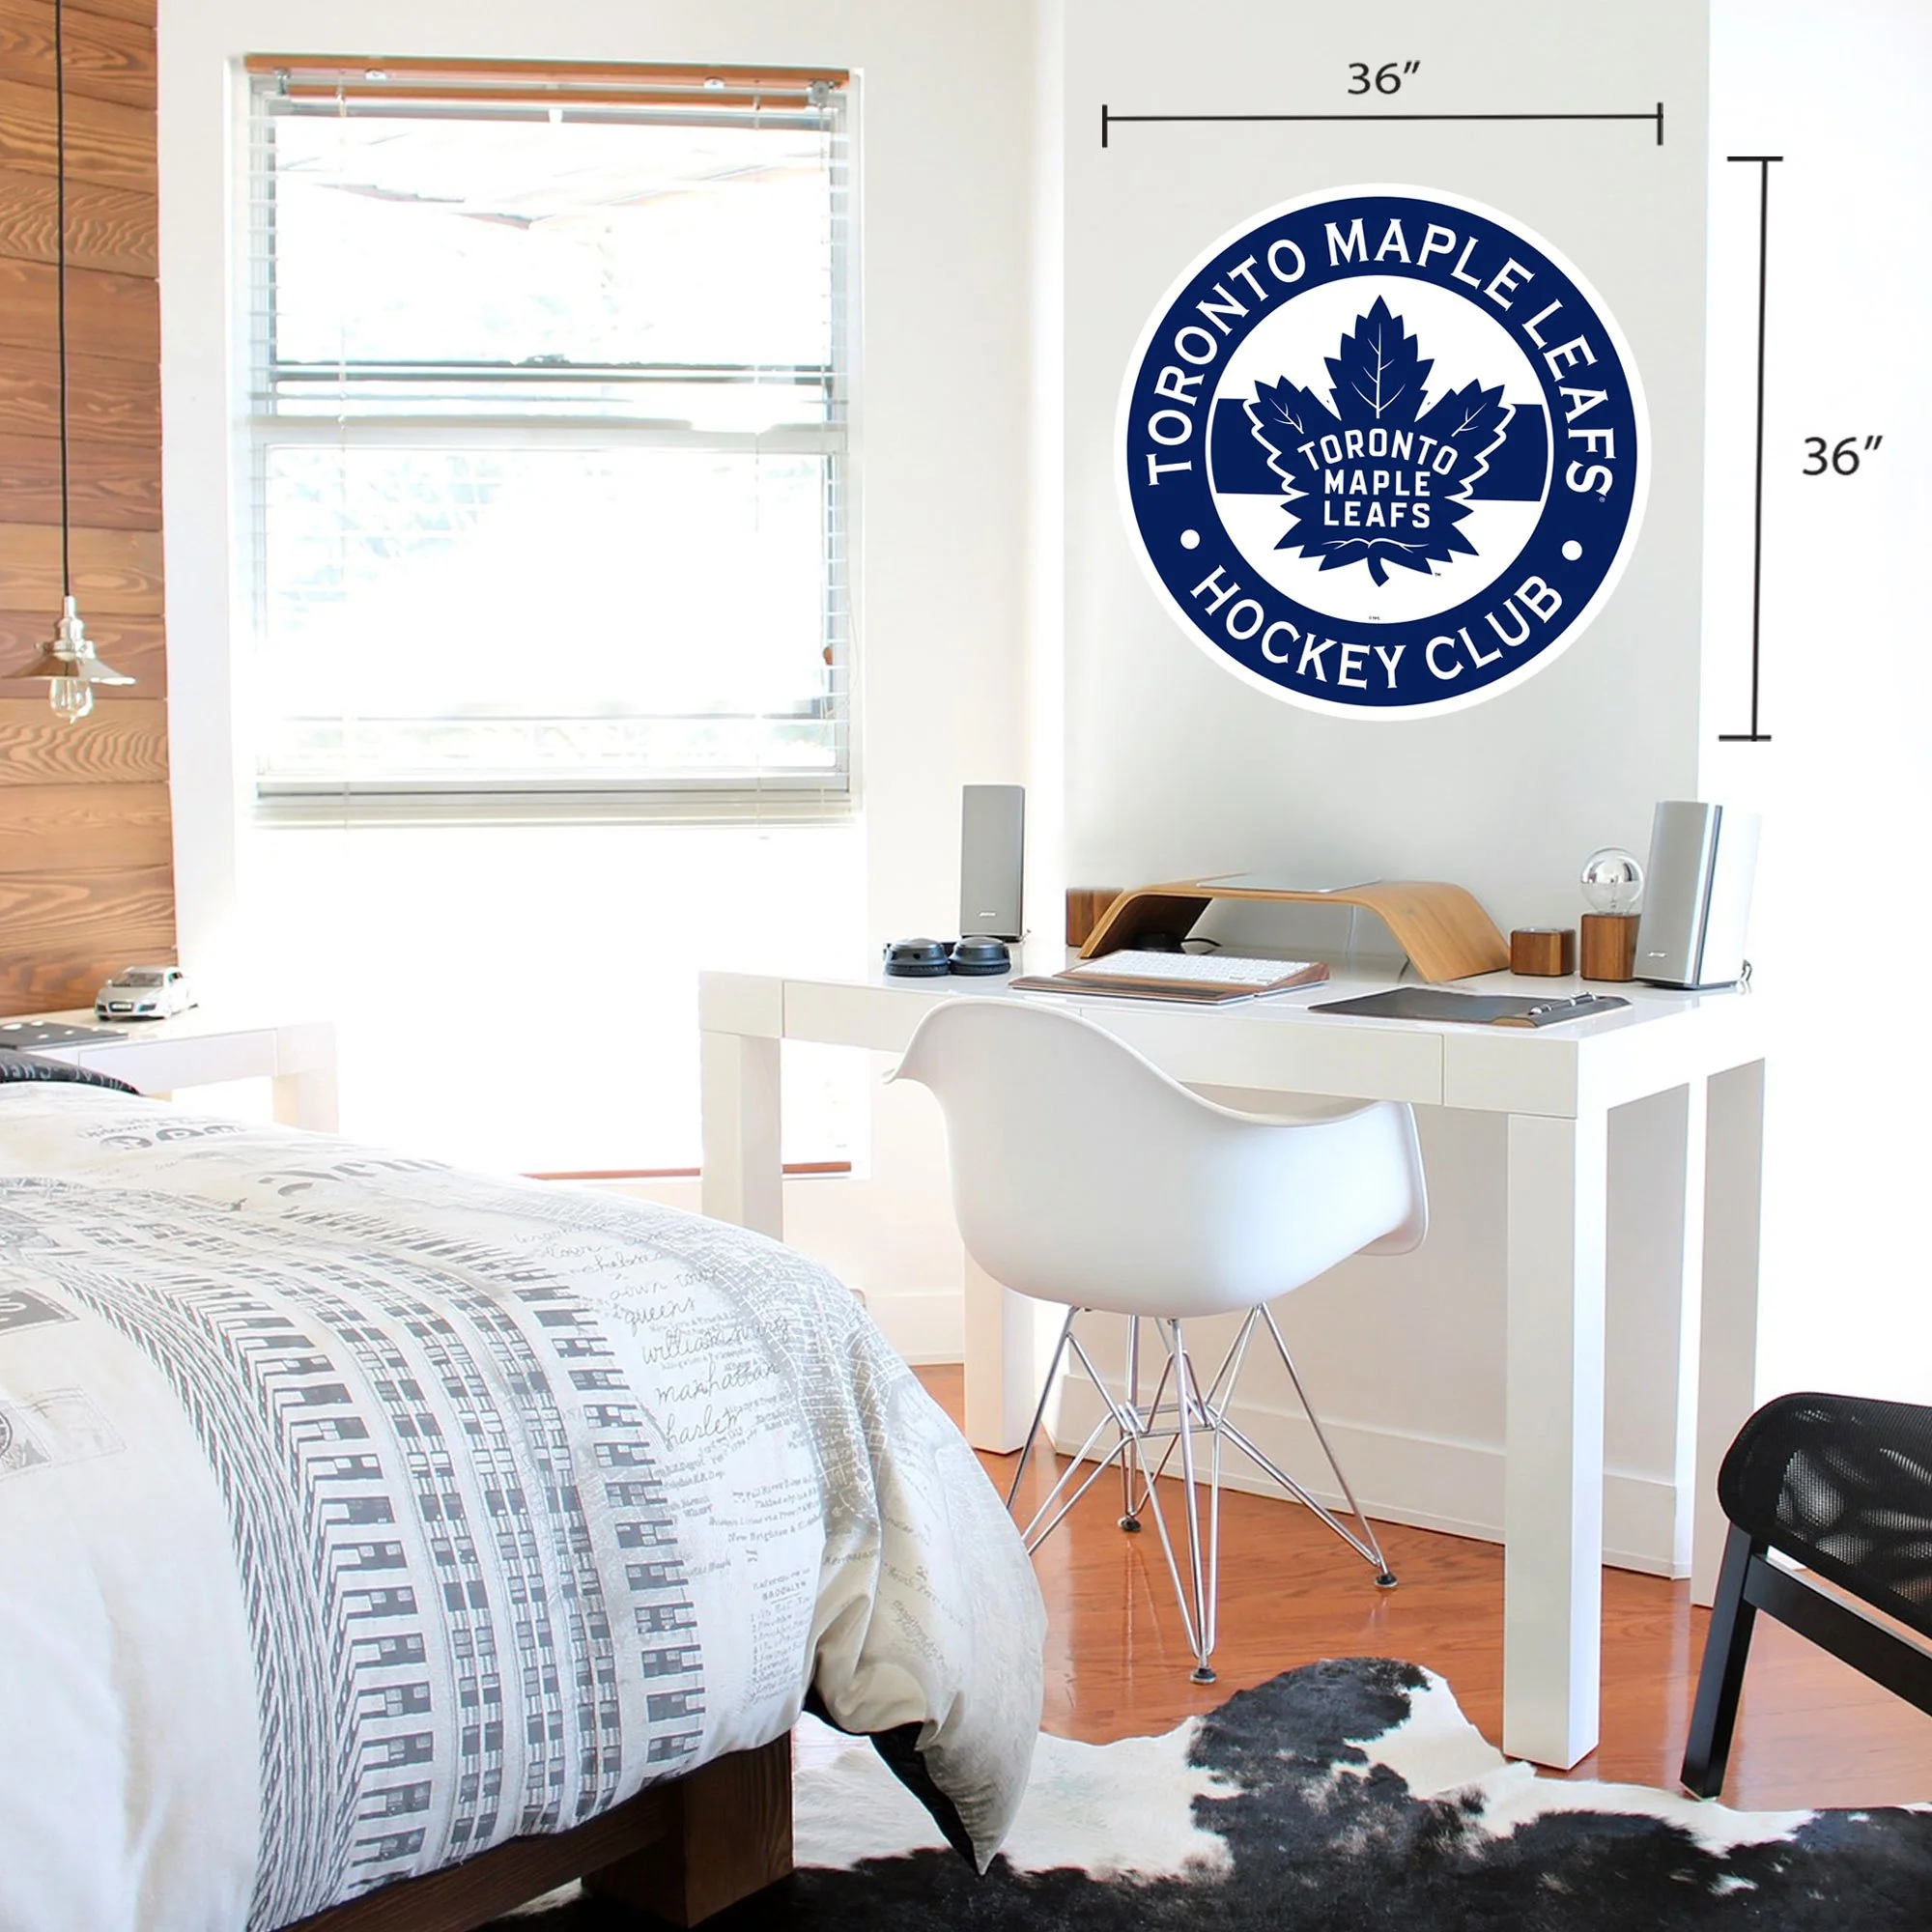
The perfect wall set is here! All made of repositional viynl, it can be taken down and then stuck somewhere else! This is the perfect addition to any kids room or split it with mom and dad!
Includes:
- 4 ft measuring stick
- Repositional Vinyl Banner
- Repostional Vinyl Pennant
- Reposistional Vinyl Logos x2
- Repositional Mascot Buddy
Be sure to follow our installation instructions below and don’t be a stranger if you need any additional tips or tricks for proper application.
Decals are reusable and safe for walls so you don’t need to worry about peeling paint or making holes. Product will stick to most smooth, dry, clean and flat surfaces. Best of all, this high-quality vinyl is digitally printed and UV cured so you won’t need to worry about tears, rips or fading.
Product Features:
- Reusable and safe for walls
- Sticks to most clean, smooth and flat surfaces
- Durable composition for increased resistance to tears, tips and fading
- Made in Canada
- Officially licensed by the NHL
- Recommended indoor use only
Production Notes:
All of our repostional wall decals are printed on demand. Please allow up to three (3) business days for production and order processing. Shipping times are NOT included.
Installing Your Mustang Products Repositional Wall Decals
- UNROLL your product, and leave for 1 to 2 hours or until mostly flat
- PREP your wall. Carefully choose an indoor area that will accommodate the dimensions of your decal, and wipe down the wall with a wet cloth to remove dirt/dust/grime. Let wall dry thoroughly before applying decal
- PEEL your decal from top to bottom. Depending on the size, you may require an additional set of hands. Peeling should be done slowly without letting the decal stick to itself. If decal does stick to itself, very slowly and carefully pull apart
- STICK one corner of your decal to the wall with minimal pressure. If alignment is accurate, proceed to loosely placing decal. If alignment is off, great news, you can simply unpeel and try again.
- SMOOTH out all air bubble and wrinkles. If possible, work from middle towards edges. It is always important to work towards the edges and expand the material. Never and we mean never, push the decal onto itself. This is how regrets are made
- STEP BACK and enjoy the fruits of your labor. If you’re like us, working through steps 4 & 5 makes the juice worth the squeeze.
Original: $65.46
-65%$65.46
$22.91Product Information
Product Information
Shipping & Returns
Shipping & Returns
Description
The perfect wall set is here! All made of repositional viynl, it can be taken down and then stuck somewhere else! This is the perfect addition to any kids room or split it with mom and dad!
Includes:
- 4 ft measuring stick
- Repositional Vinyl Banner
- Repostional Vinyl Pennant
- Reposistional Vinyl Logos x2
- Repositional Mascot Buddy
Be sure to follow our installation instructions below and don’t be a stranger if you need any additional tips or tricks for proper application.
Decals are reusable and safe for walls so you don’t need to worry about peeling paint or making holes. Product will stick to most smooth, dry, clean and flat surfaces. Best of all, this high-quality vinyl is digitally printed and UV cured so you won’t need to worry about tears, rips or fading.
Product Features:
- Reusable and safe for walls
- Sticks to most clean, smooth and flat surfaces
- Durable composition for increased resistance to tears, tips and fading
- Made in Canada
- Officially licensed by the NHL
- Recommended indoor use only
Production Notes:
All of our repostional wall decals are printed on demand. Please allow up to three (3) business days for production and order processing. Shipping times are NOT included.
Installing Your Mustang Products Repositional Wall Decals
- UNROLL your product, and leave for 1 to 2 hours or until mostly flat
- PREP your wall. Carefully choose an indoor area that will accommodate the dimensions of your decal, and wipe down the wall with a wet cloth to remove dirt/dust/grime. Let wall dry thoroughly before applying decal
- PEEL your decal from top to bottom. Depending on the size, you may require an additional set of hands. Peeling should be done slowly without letting the decal stick to itself. If decal does stick to itself, very slowly and carefully pull apart
- STICK one corner of your decal to the wall with minimal pressure. If alignment is accurate, proceed to loosely placing decal. If alignment is off, great news, you can simply unpeel and try again.
- SMOOTH out all air bubble and wrinkles. If possible, work from middle towards edges. It is always important to work towards the edges and expand the material. Never and we mean never, push the decal onto itself. This is how regrets are made
- STEP BACK and enjoy the fruits of your labor. If you’re like us, working through steps 4 & 5 makes the juice worth the squeeze.